 Kaan Kilic
Learn how to use Airtable as a content management system (CMS) for your Alexa Skills and Google Actions with the Jovo CMS integrations.
Introduction
Why a CMS?
Right now, most people manage the content of their Alexa Skills and Google Actions in the code. This lets you start building out the functionality quickly without having to care about integrating external systems. Plus, Jovo offers an i18next integration that allows you to localize content right from a JSON file.
However, with growing teams working on voice apps for Alexa and Google Assistant, changes are becoming higher that content is managed from a variety of people that don't necessarily have access to the code. Also, for adding fresh new content, or even doing minor changes, redeploying the complete code base can seem like a tedious task.
With the Jovo CMS Integrations, we want to remove that hurdle and help people work on content more collaboratively.
Why Airtable?
Here are some reasons for using Airtable for content:
- it's a combination of a spreadsheet and a database giving you the best of both worlds
- Airtable has all the collaboration and permission features already built-in
- You can create several tables (displayed as tabs) in one base, allowing you to manage several content types (we offer different Table Types for this)
Let's get started with Airtable and Jovo.
Preparing the Airtable Base
First, we need to prepare an Airtable Base and add some content. For this example, we will just use a responses table that includes a key and a locale (in our case en for English).
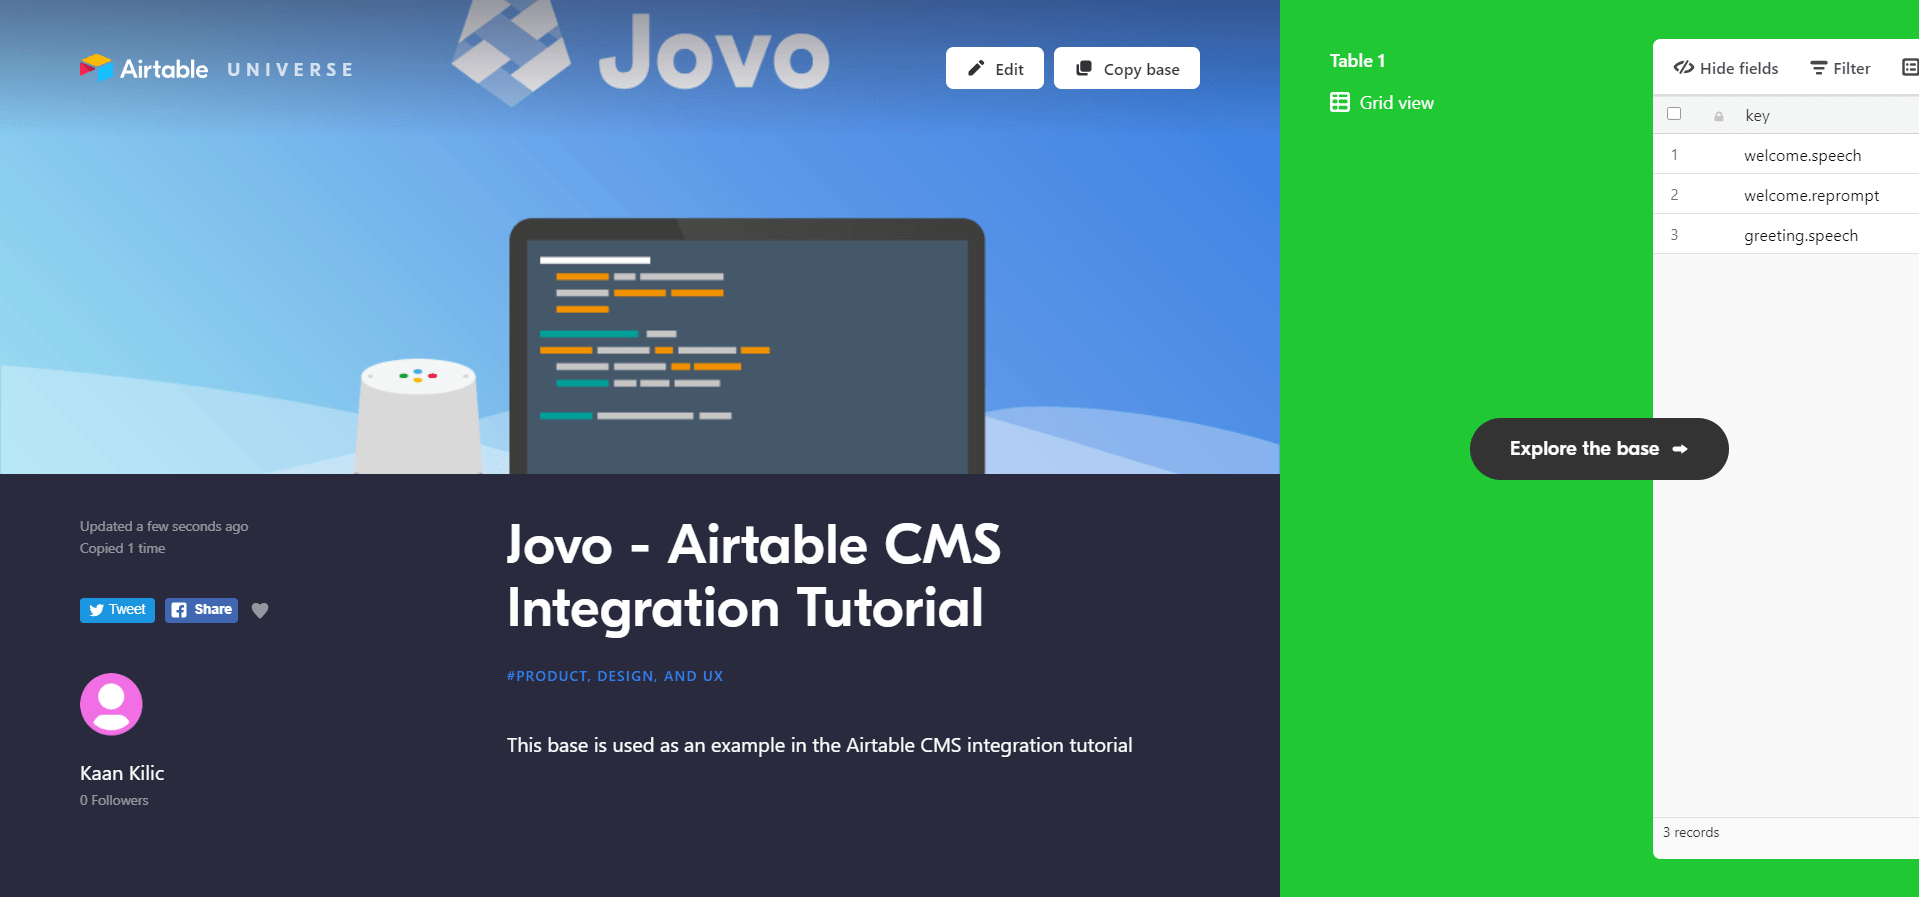
To use it for yourself, click Copy base at the top to save it to your workspace.
You can edit the content as much as you want.
Using the Jovo Airtable CMS Integration
In this section, we will integrate the Airtable Base with a Jovo voice app in three simple steps:
You can find the full documentation here: Jovo Airtable CMS Integration.
Installation
To get started, we need to enable the Airtable integration.
In your app.js file, register it with the use command:
Configuration
To use the Airtable integration, you need to provide both your api key and the ID of the base you want to use.
You can find both of them by going over to airtable.com/api, selecting the base you copied earlier and scrolling down to Authentication:
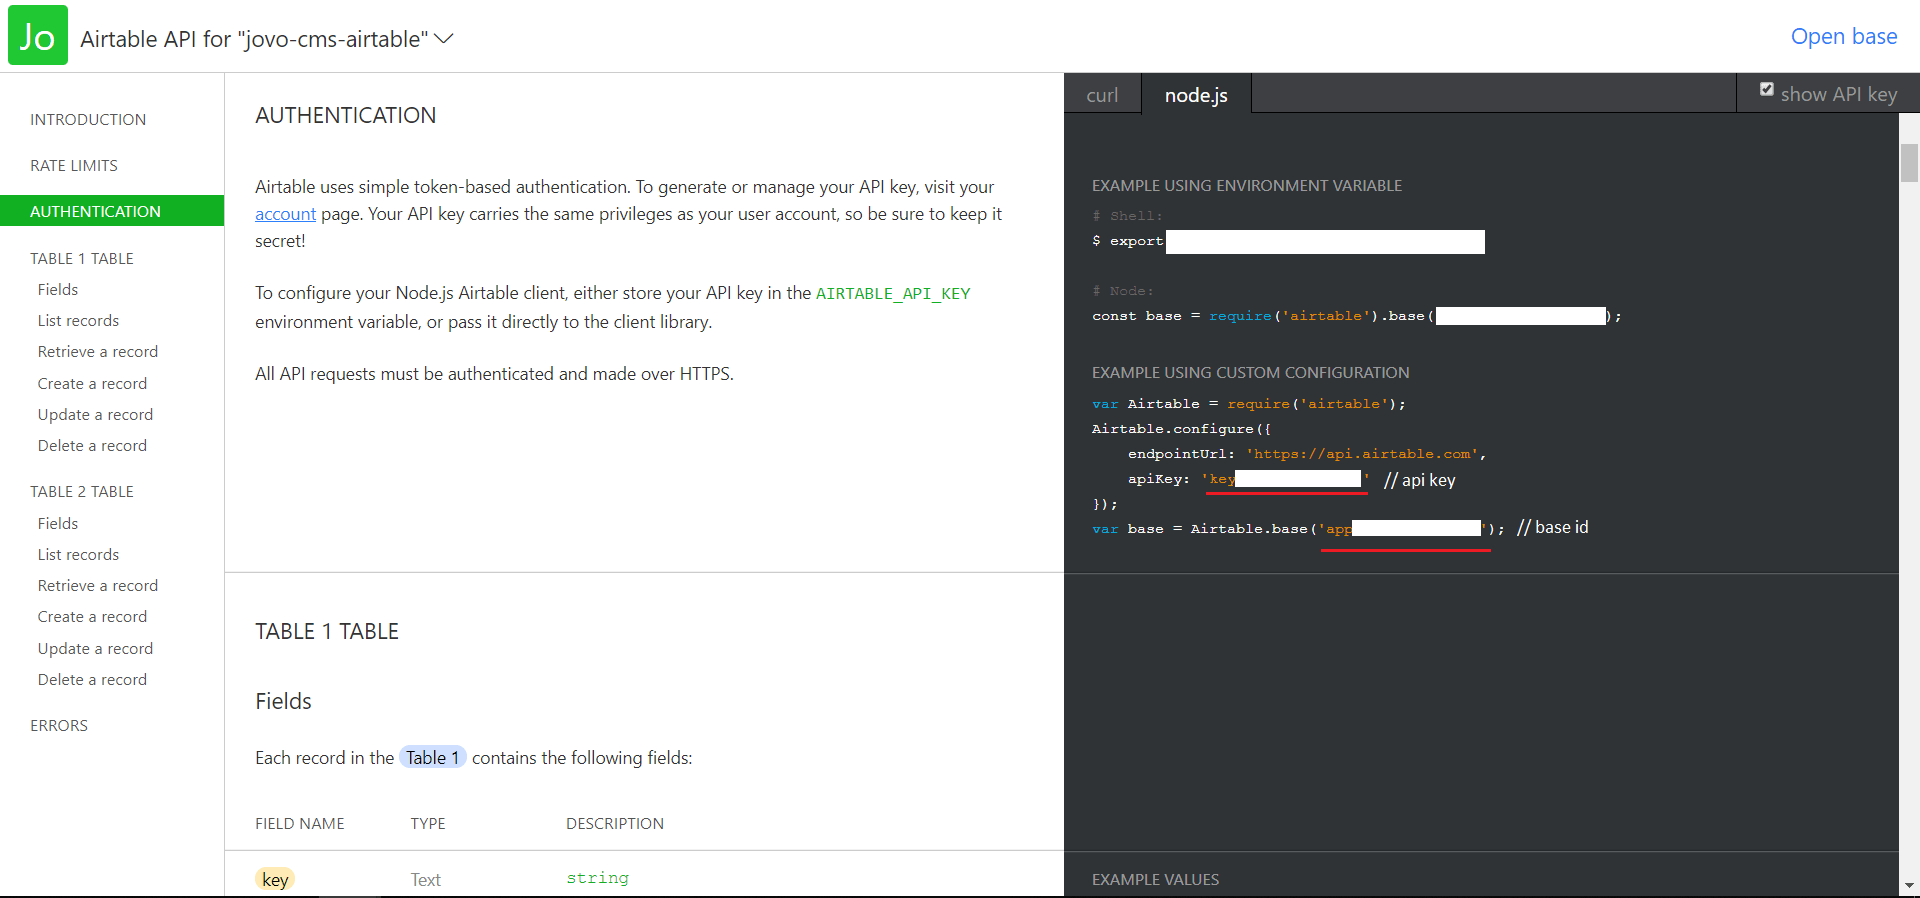
You can add the following to your config.js file in the src folder:
Don't forget to add your own
apiKeyandbaseId
The Airtable integration allows you to add several different tables of various table types. For this example, we're just going to use the Responses table type.
Accessing the Content
Now let's take a look at the app.js file in the src folder. Because we're using the Responses table type, you can access the content strings with the this.('key') method:
If you want to pass additional parameters, you can add them as an object:
Next Steps
That's it! If you now test it, you should be able to get the responses you defined in Airtable.
You can test it locally by using the following command:
There are lots of additional things you can do with this integration, which we are going to focus on in upcoming tutorials.
For example, you can use additional Table Types (find the docs here).
Any questions? Please let us know in the comments below 👇. You can also reach us on Twitter or Slack.